
 ASSET HELP / FEATURES
Before you start
Import a master in the Workspace. Validation runs as soon as it is imported.
How to
Read the validation bar
Green means the master is ready. Red reads This file does not meet the requirements and lists each problem, such as Use a master of at least 1024 × 1024 pixels.
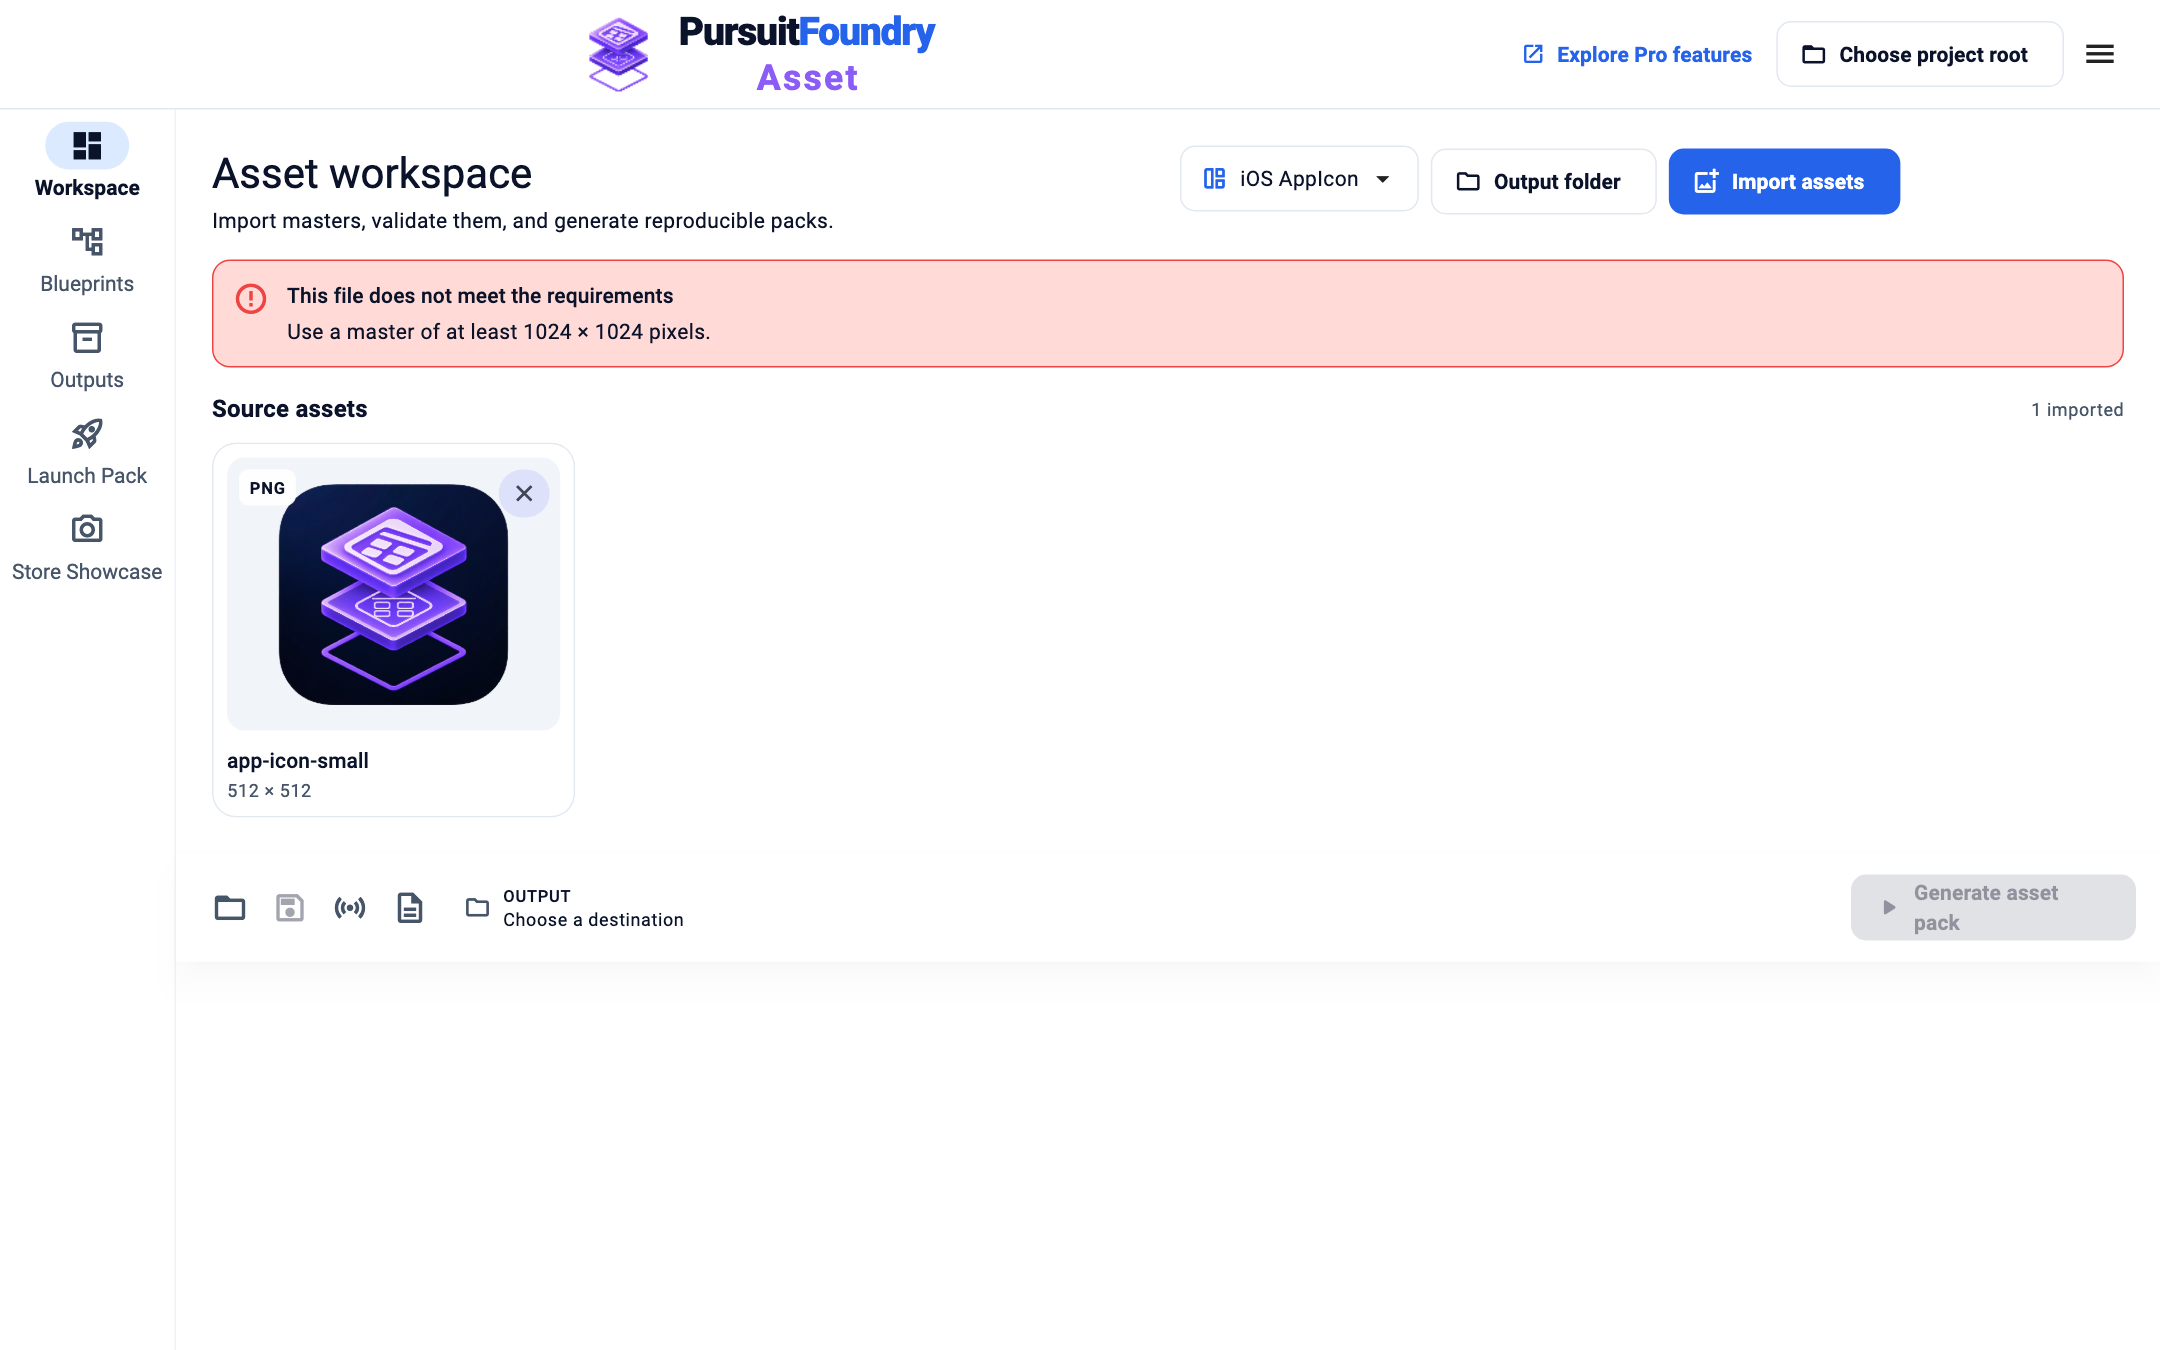
A 512 × 512 master is too small for iOS AppIcon. Repair a near miss
If a master is within 10% of the right size and aspect ratio, Asset shows Almost the right size. Select Add resize action.
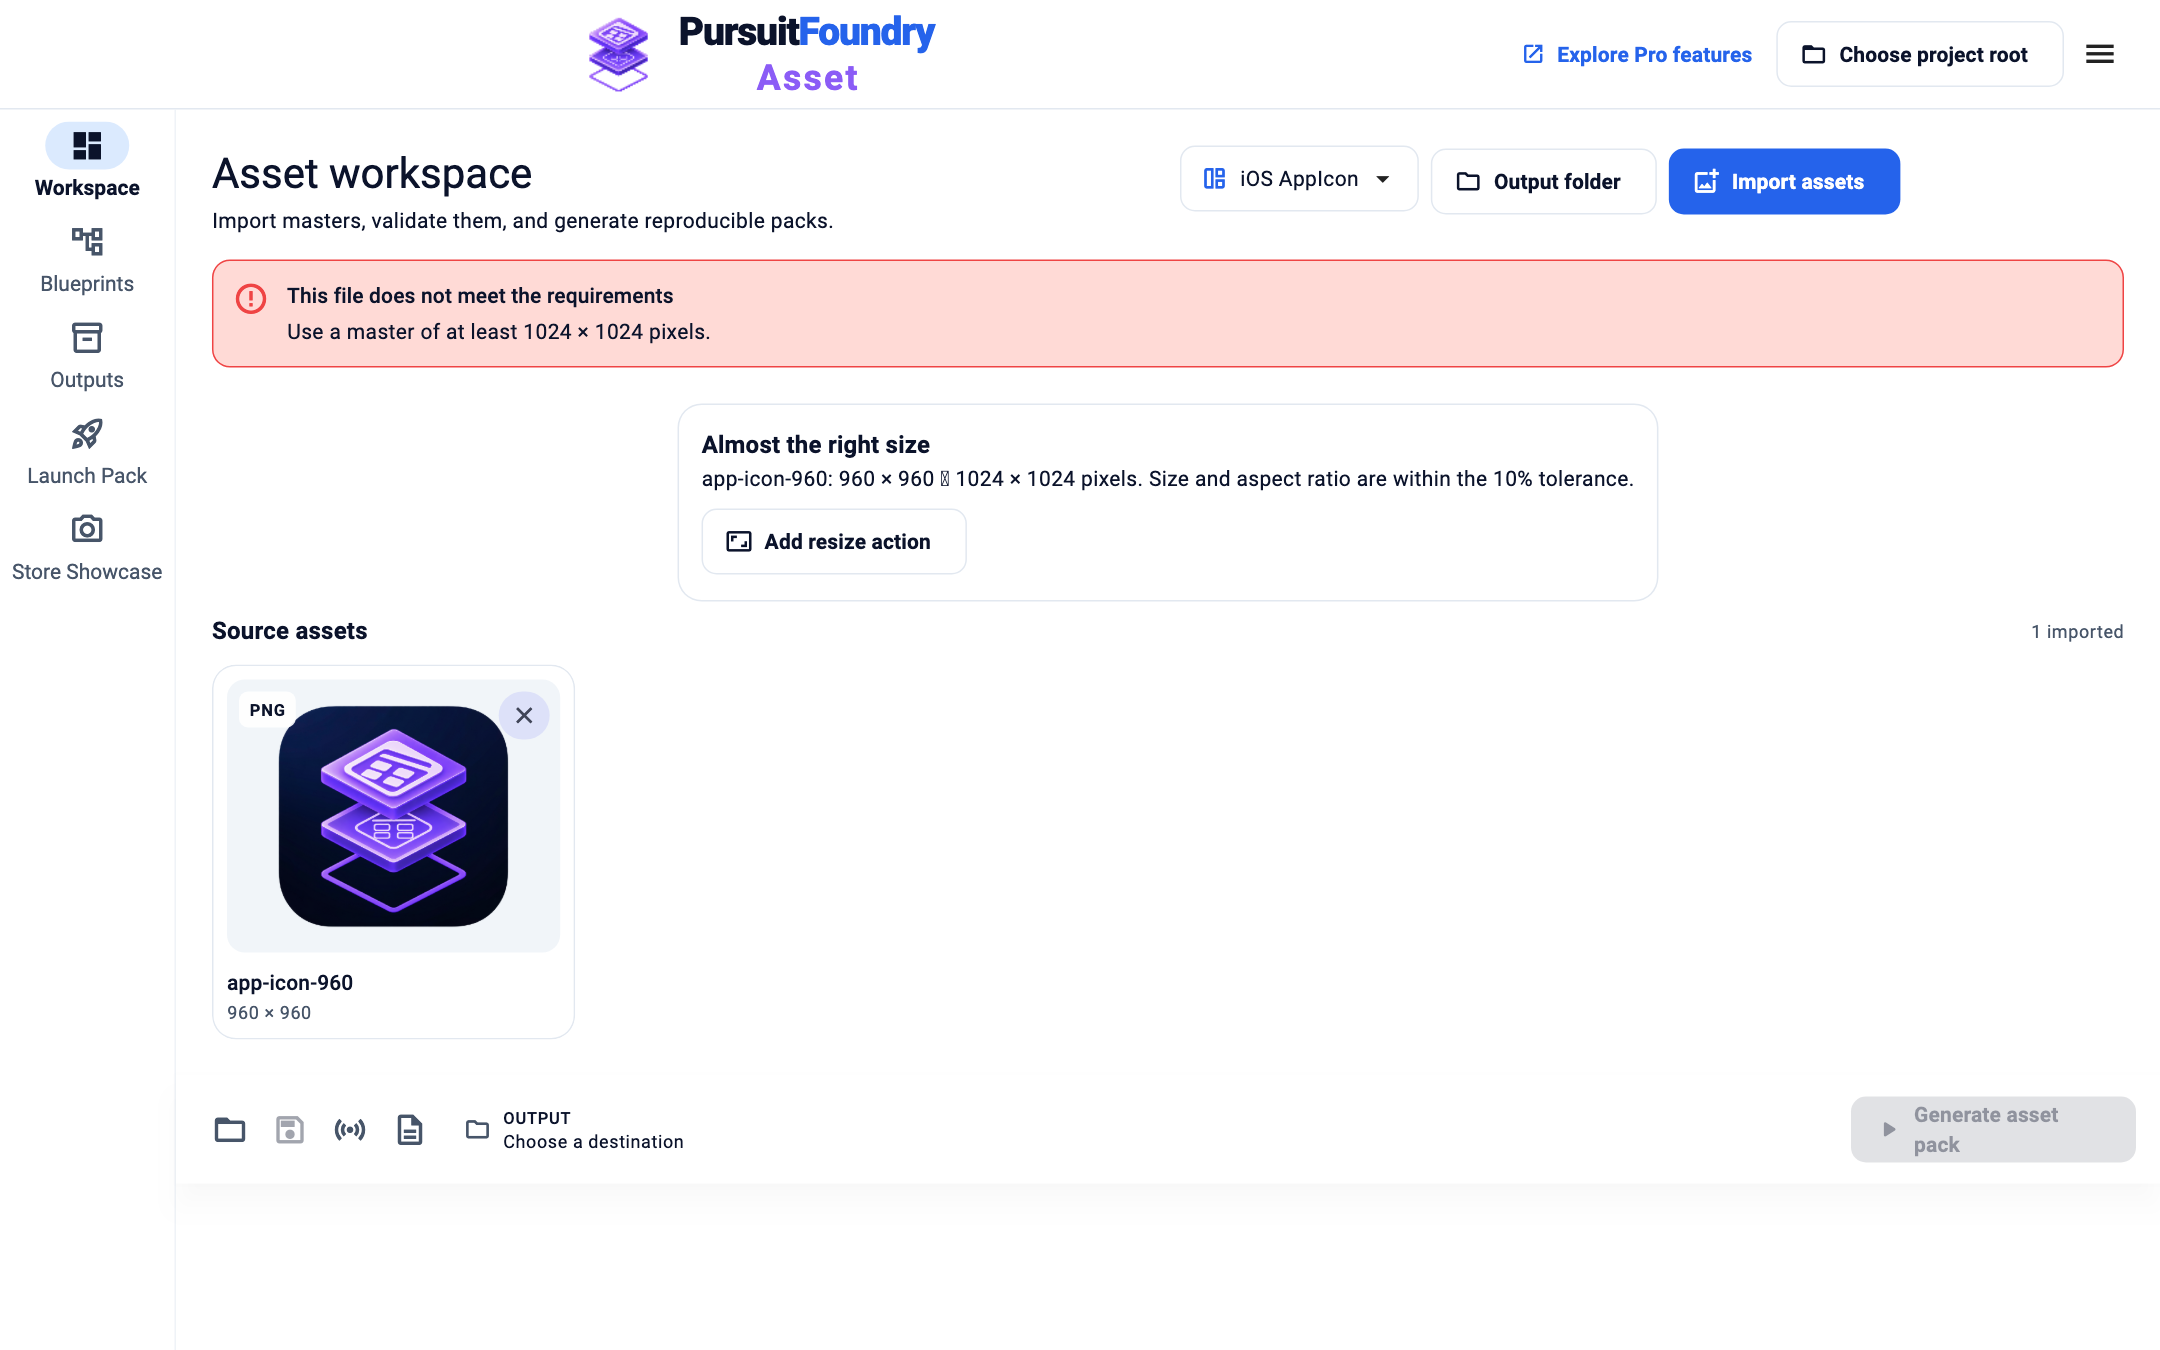
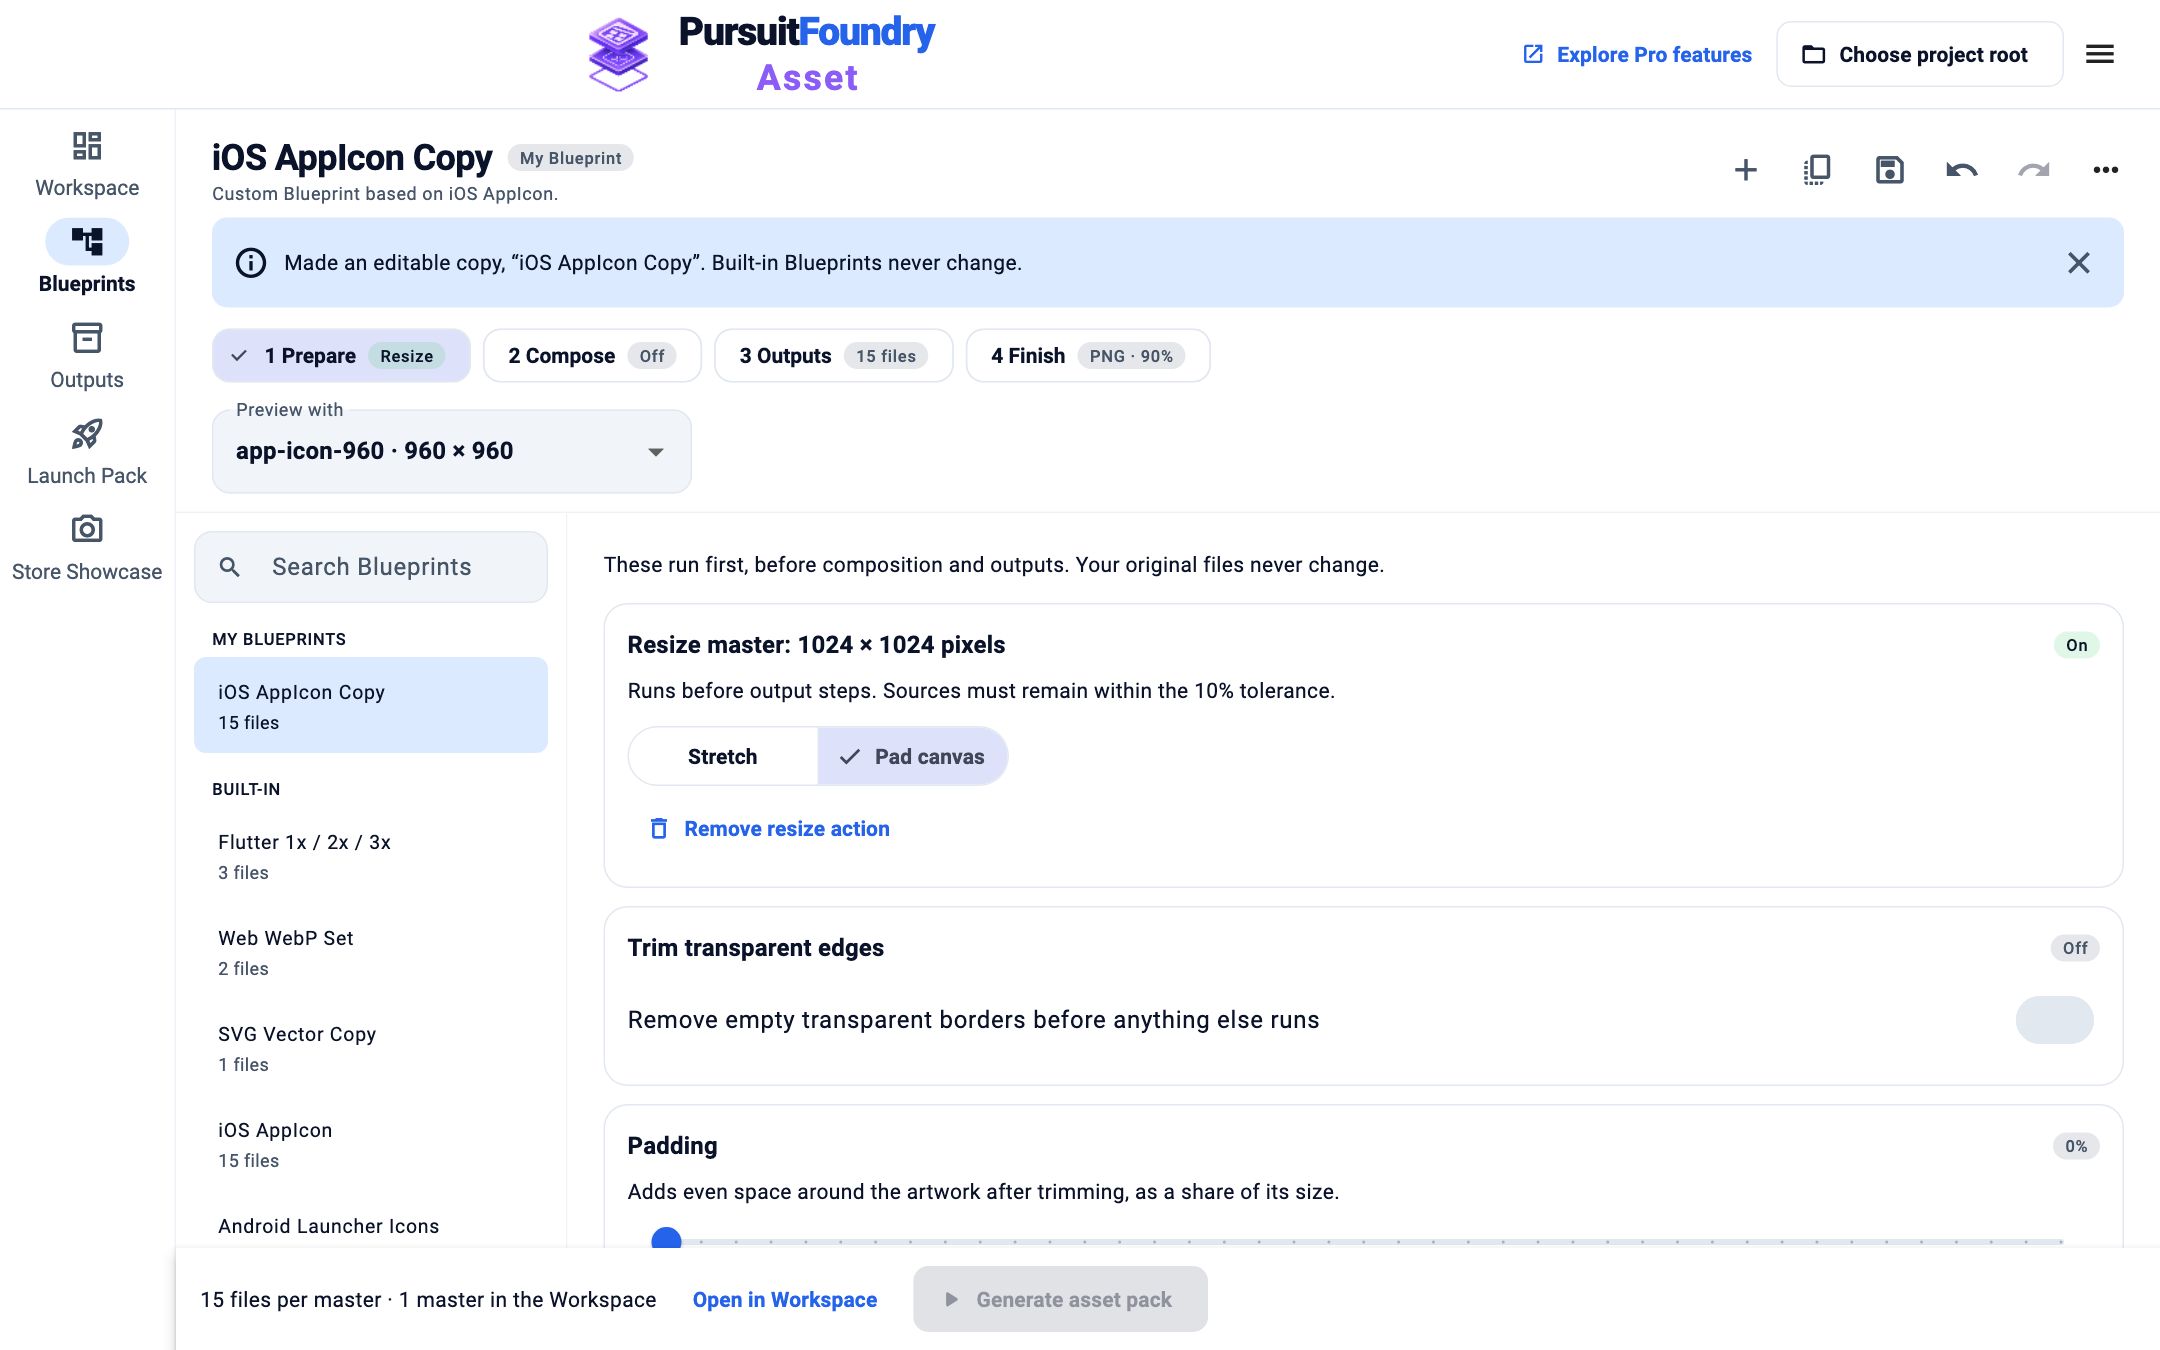
A 960 × 960 master can be resized to 1024 × 1024. Choose Stretch or Pad canvas
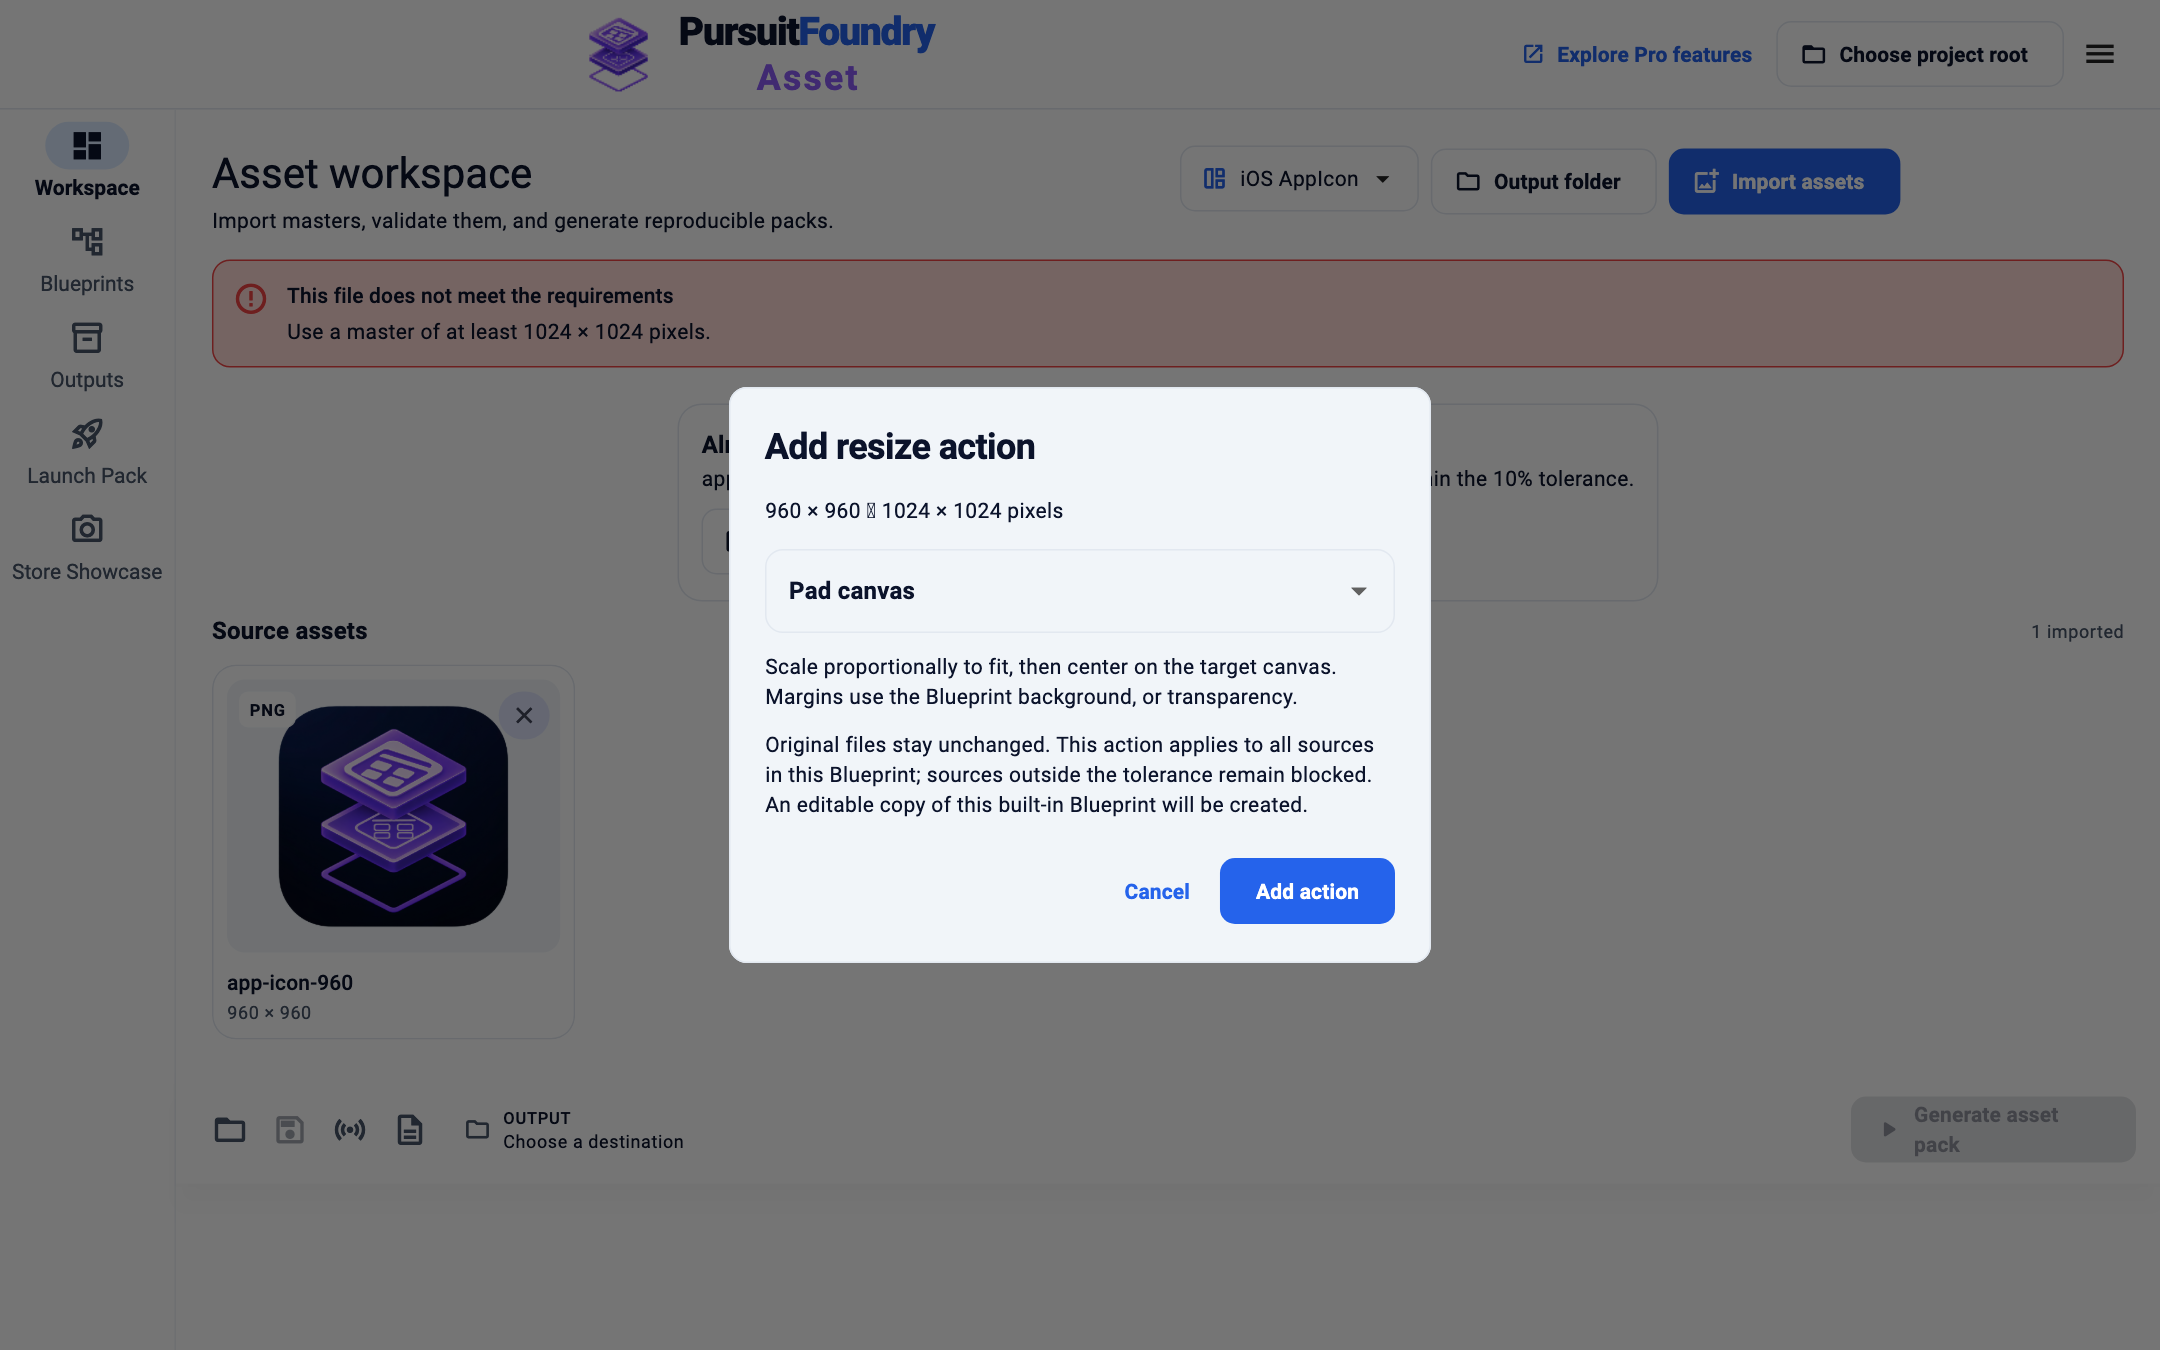
Stretch fills the target dimensions and slightly changes proportions. Pad canvas scales to fit and centers the image, filling margins with the Blueprint background or transparency. Select Add action. For a built-in Blueprint, Asset creates an editable copy; your original file stays unchanged.
Check the resize step
In Blueprints, select 1 Prepare. The copy now starts with Resize master. Change the mode there, or select Remove resize action.
See every planned file
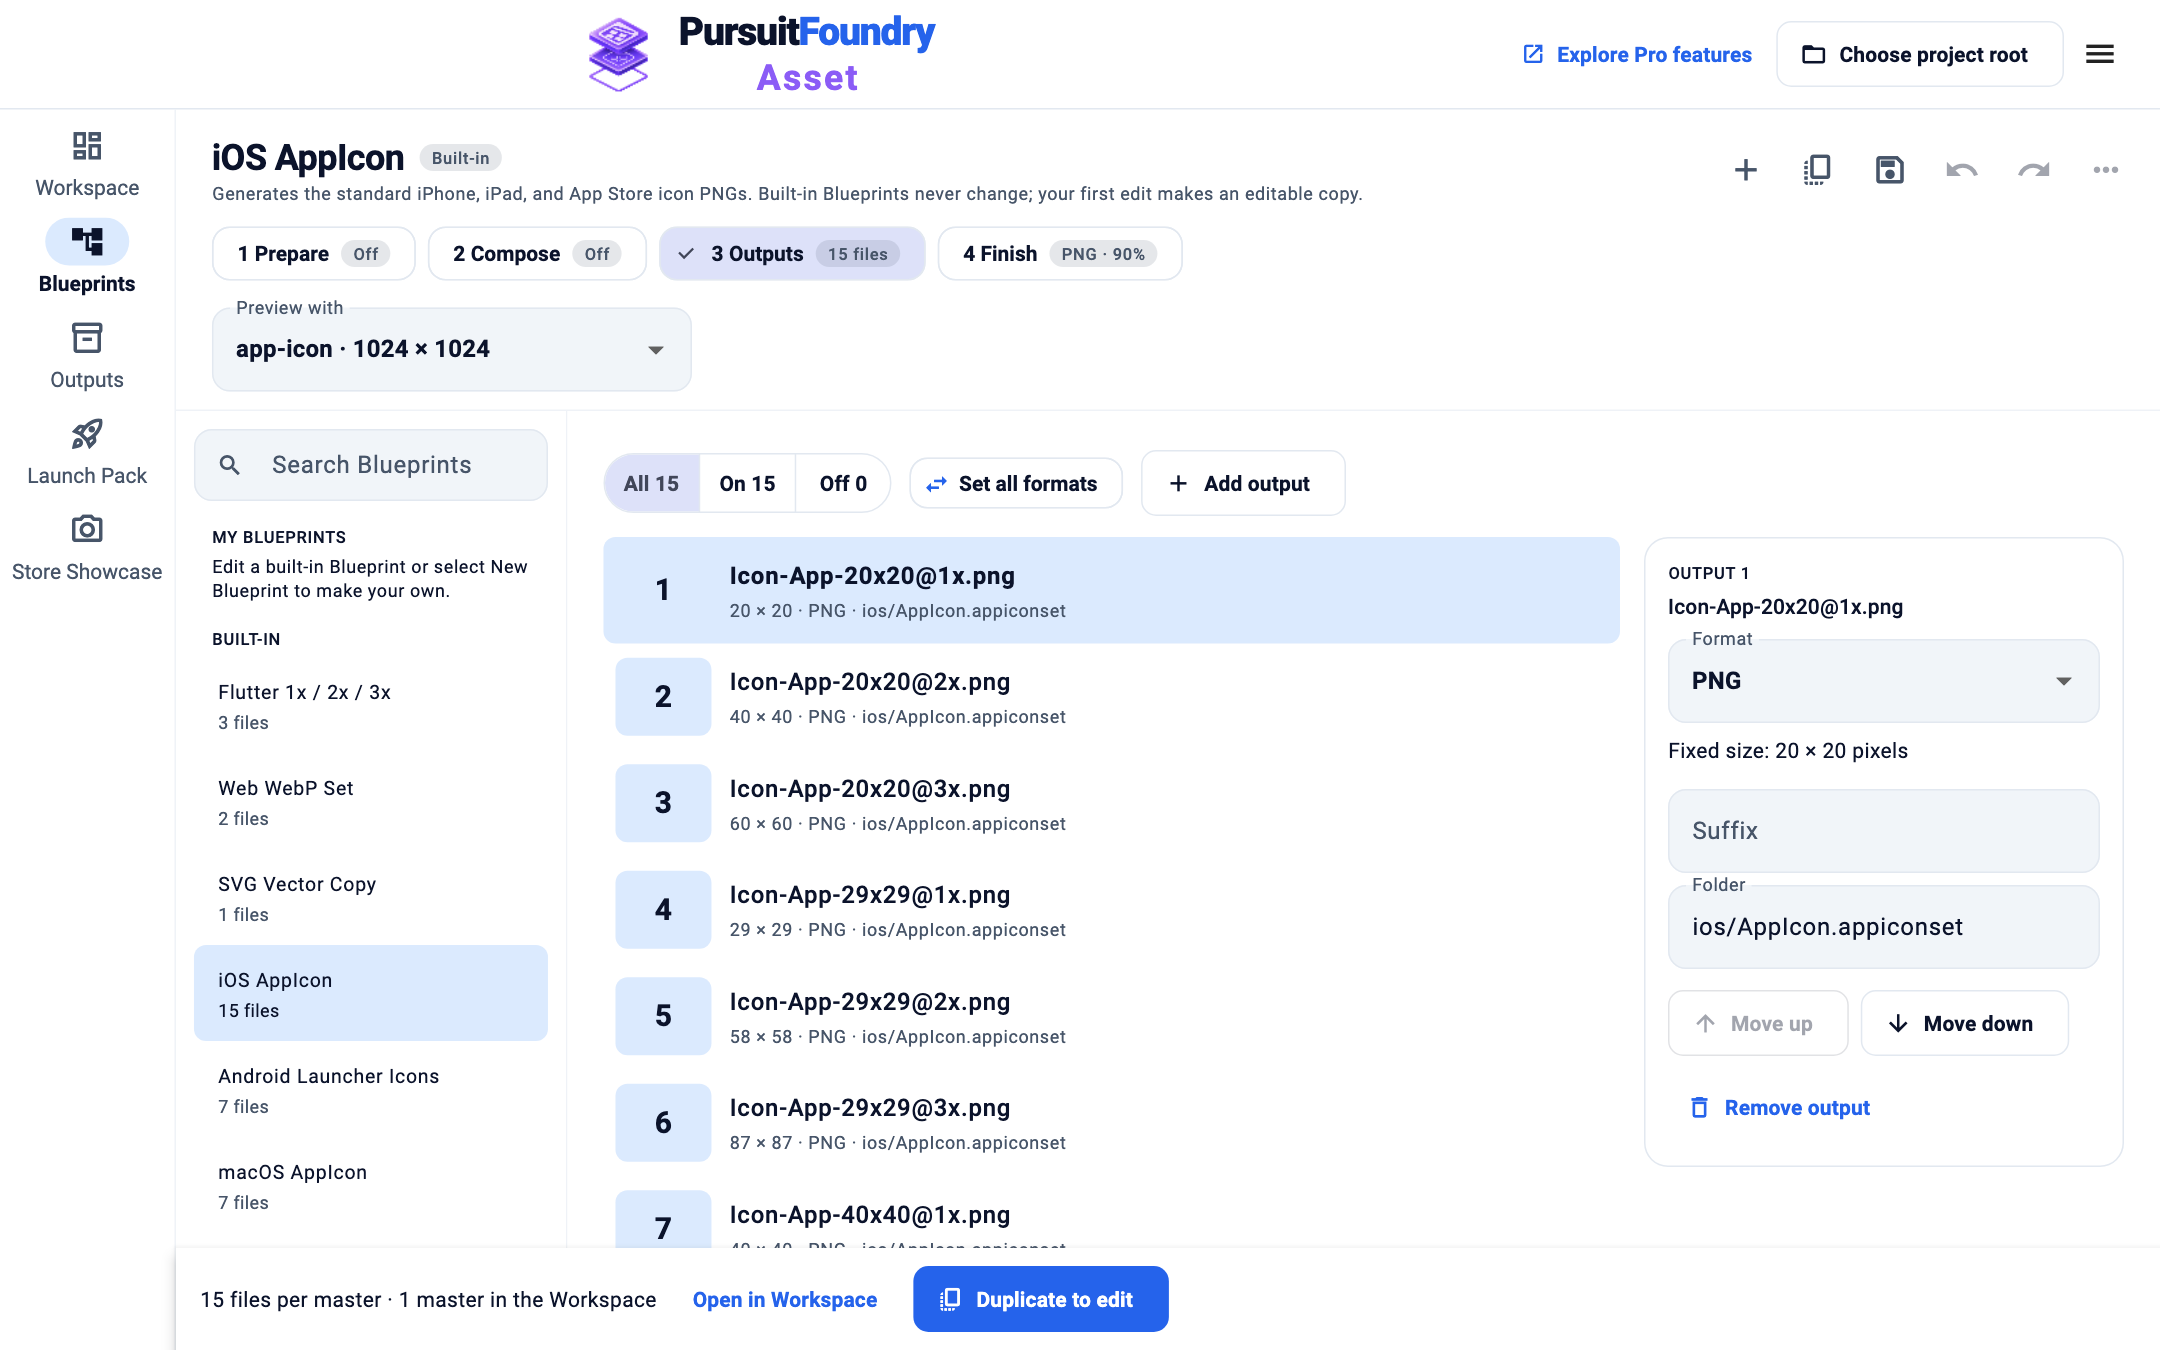
In Blueprints, select 3 Outputs. Each row is one file, with the name, pixel size, format and folder it will have for the master shown in Preview with. Any validation issue for that master is listed above the table.
Adjust processing
Select 4 Finish to set Quality, Strip metadata, Existing outputs and Flatten onto a color for the Blueprint, or the quality for one imported master.
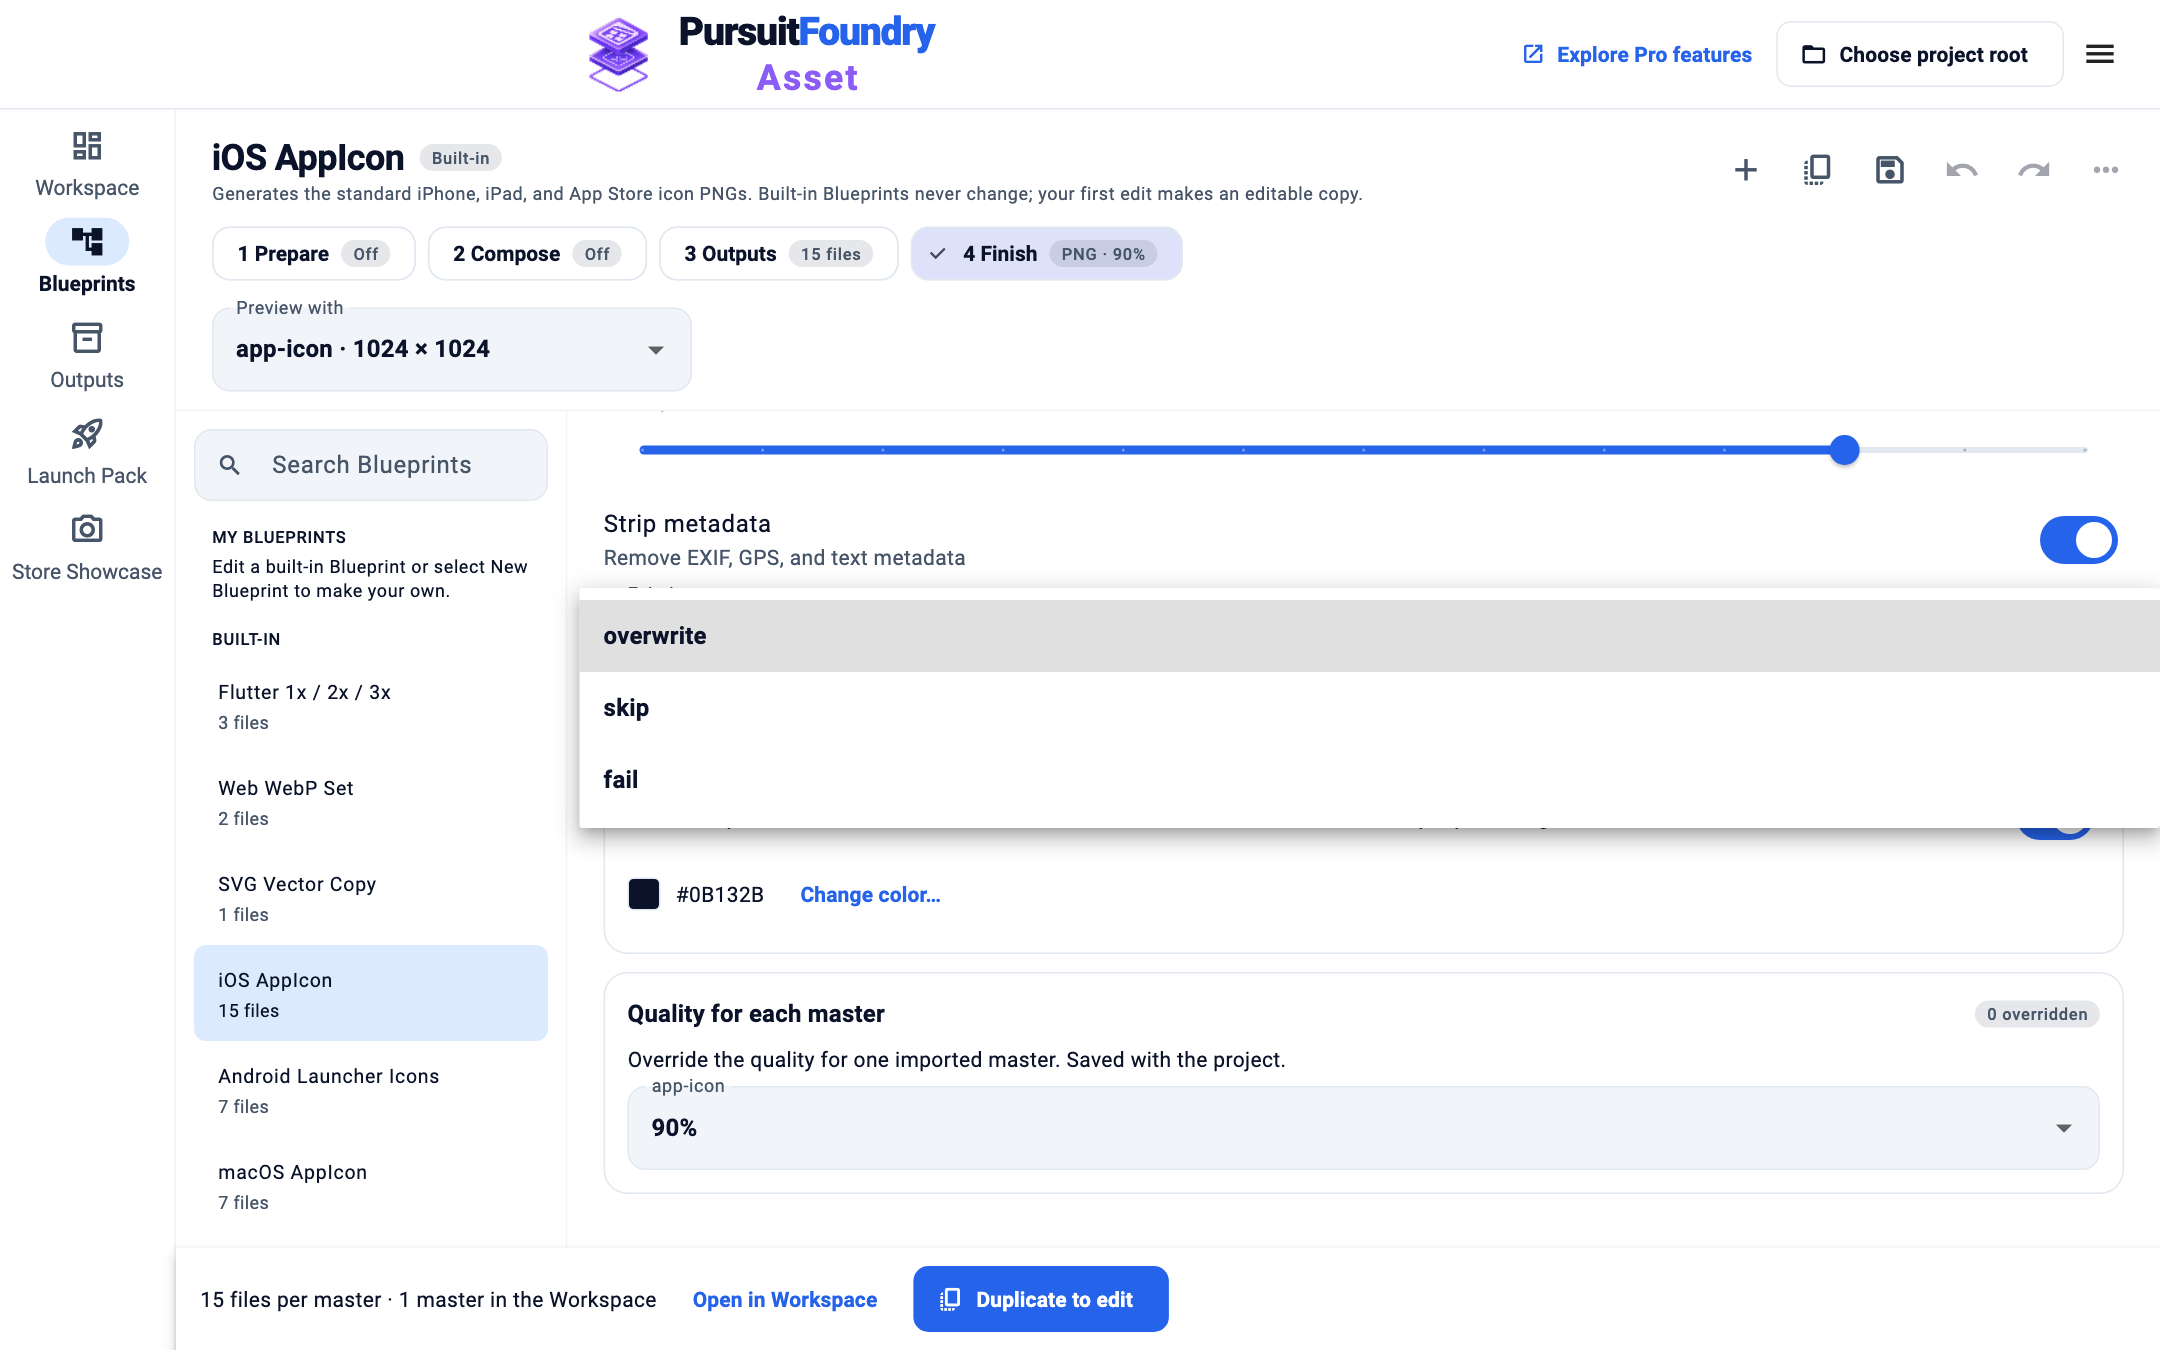
Existing outputs offers overwrite, skip or fail. Save a report (optional)
In the Workspace bottom bar, select Export validation report to save the results as a Markdown file you can share.
Options
| OPTION | WHAT IT DOES |
|---|---|
| Quality | Compression quality for lossy formats. Default 90%. |
| Strip metadata | Removes EXIF, GPS and text metadata from outputs. On by default. |
| Existing outputs | overwrite (default) replaces files, skip keeps existing files, fail stops before anything is written. See Handle files that already exist. |
| Quality for each master | 60%, 75%, 90% or 100% for one imported master, overriding the Blueprint quality. |
| Flatten onto a color | Fills transparent areas with one color, for formats or stores that need opaque images. Off unless the Blueprint needs it; iOS AppIcon flattens onto navy. |
Troubleshooting
- “This source is outside the resize action’s 10% tolerance.”
- The master is too far from the target size to resize safely. Use a larger or squarer master.
- “Pad canvas needs an opaque background for JPEG output.”
- JPEG has no transparency. Use Stretch, or add a background color with a layered Blueprint.
- “JPEG output cannot preserve source transparency.”
- Transparent areas become solid in JPEG files. Use PNG or WebP to keep them.
- “This source is unusually large and may process slowly.”
- A warning only. Generation still runs.