
 ASSET HELP / GETTING STARTED
Before you start
- A square master image: PNG, JPEG or WebP, at least 1024 × 1024 pixels for iOS. Asset never changes your original file.
- A folder for the generated files. A new folder works best for your first run.
How to
Choose what to create
When Asset opens it asks What do you want to create? Select iOS AppIcon. Every card is a ready-made Blueprint; you can switch later.
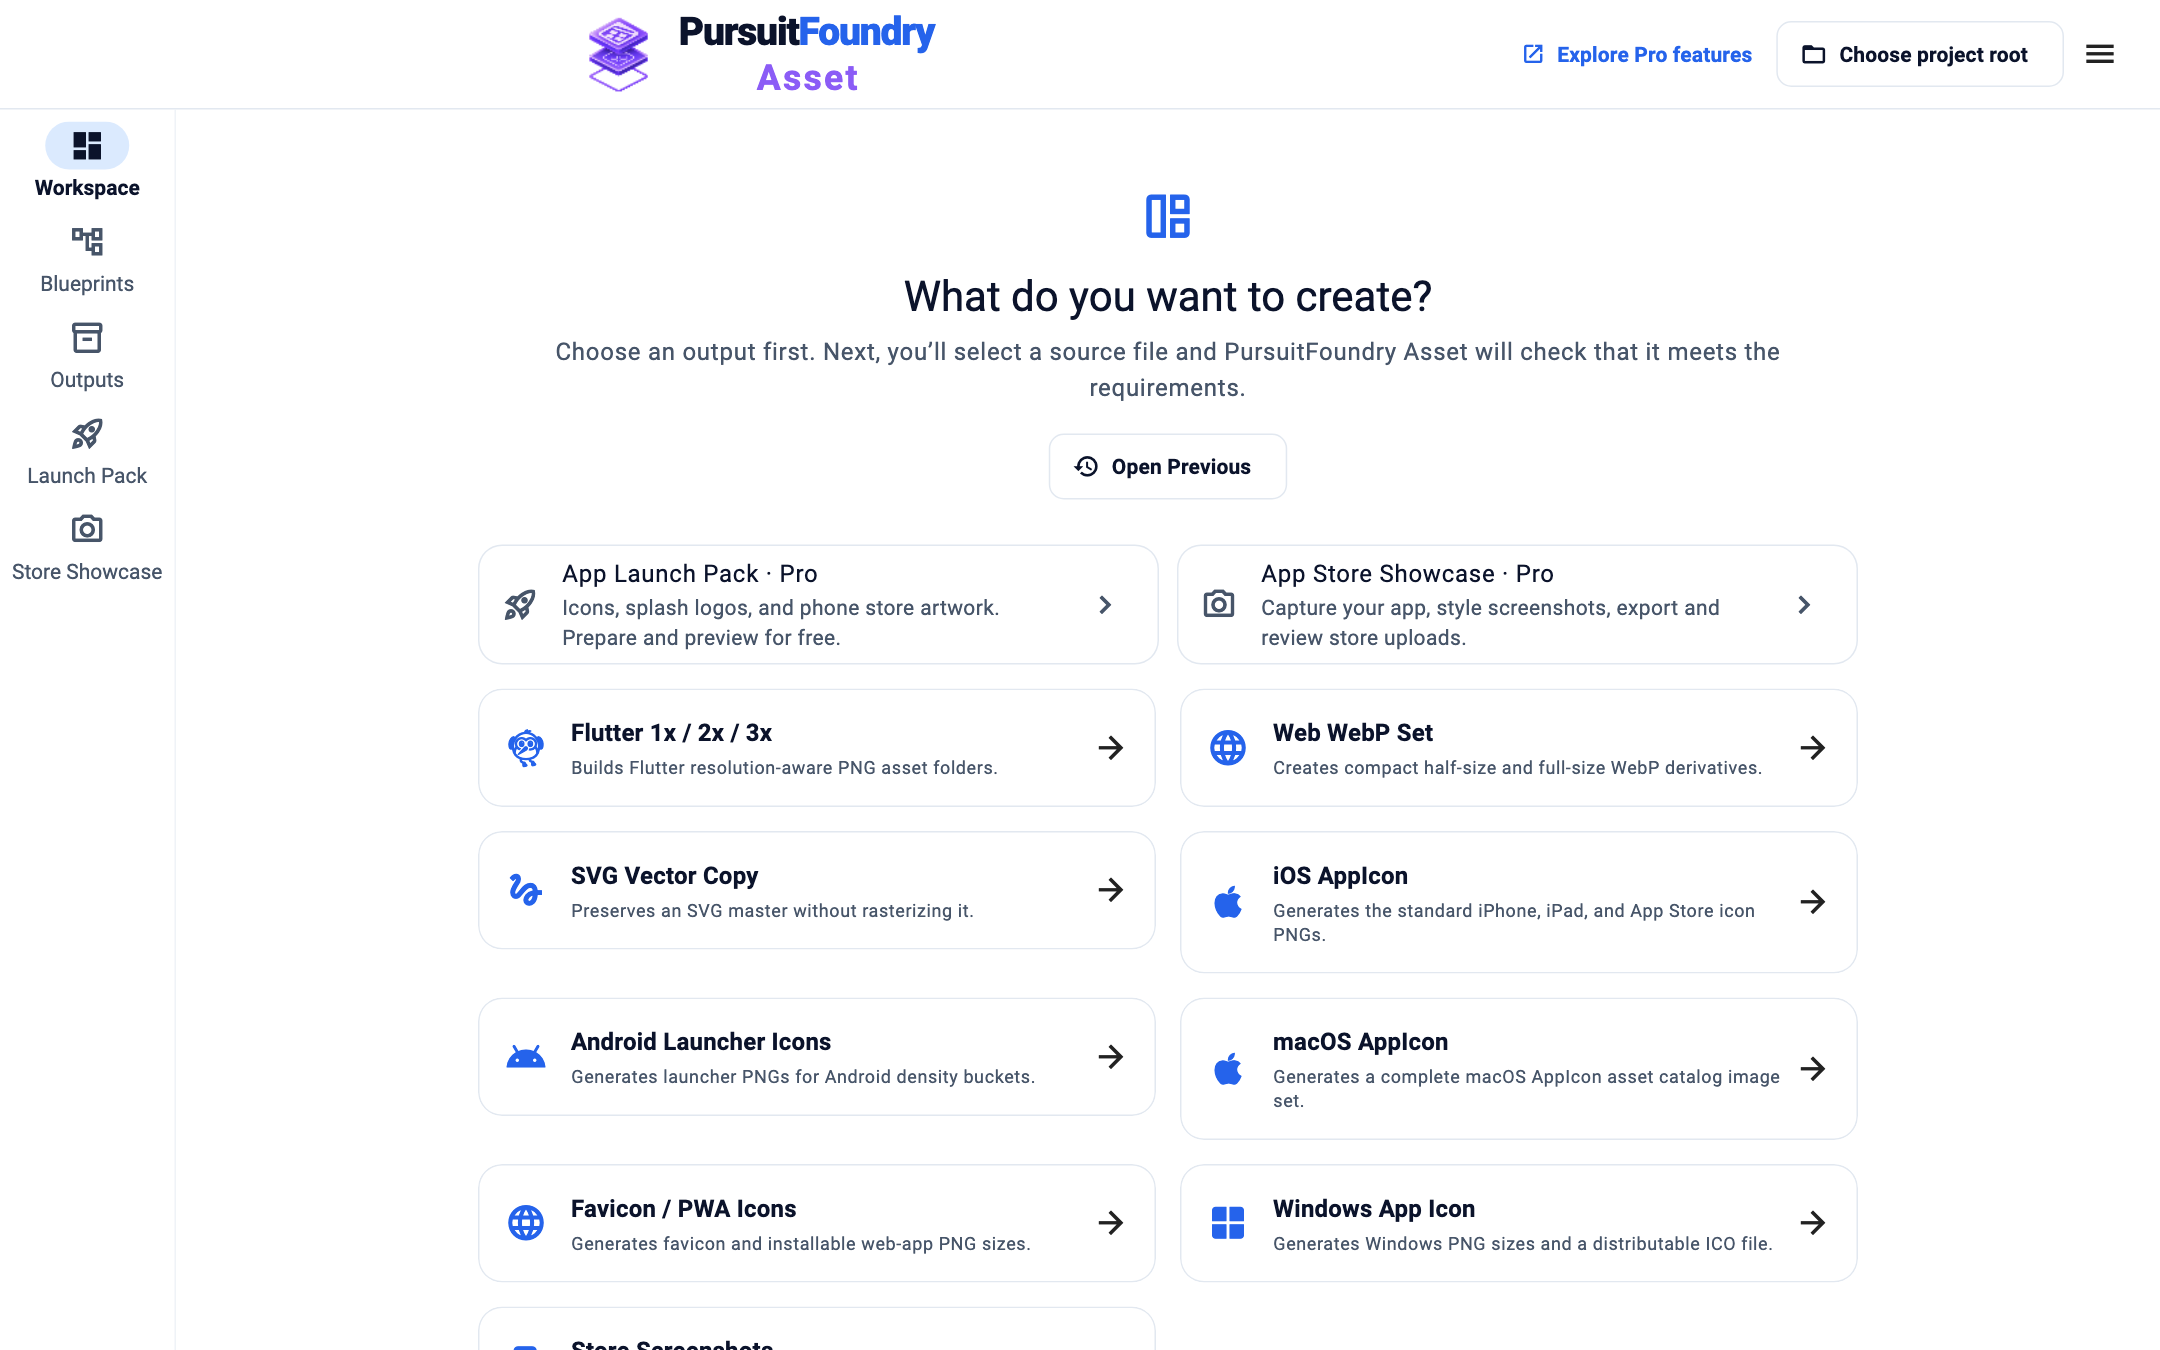
The start screen lists App Launch Pack, App Store Showcase and every standard generator. Select your master
Asset opens a file chooser straight away. Pick your master. Asset checks it against the Blueprint: a green bar reading This file is ready for iOS AppIcon means you can continue.
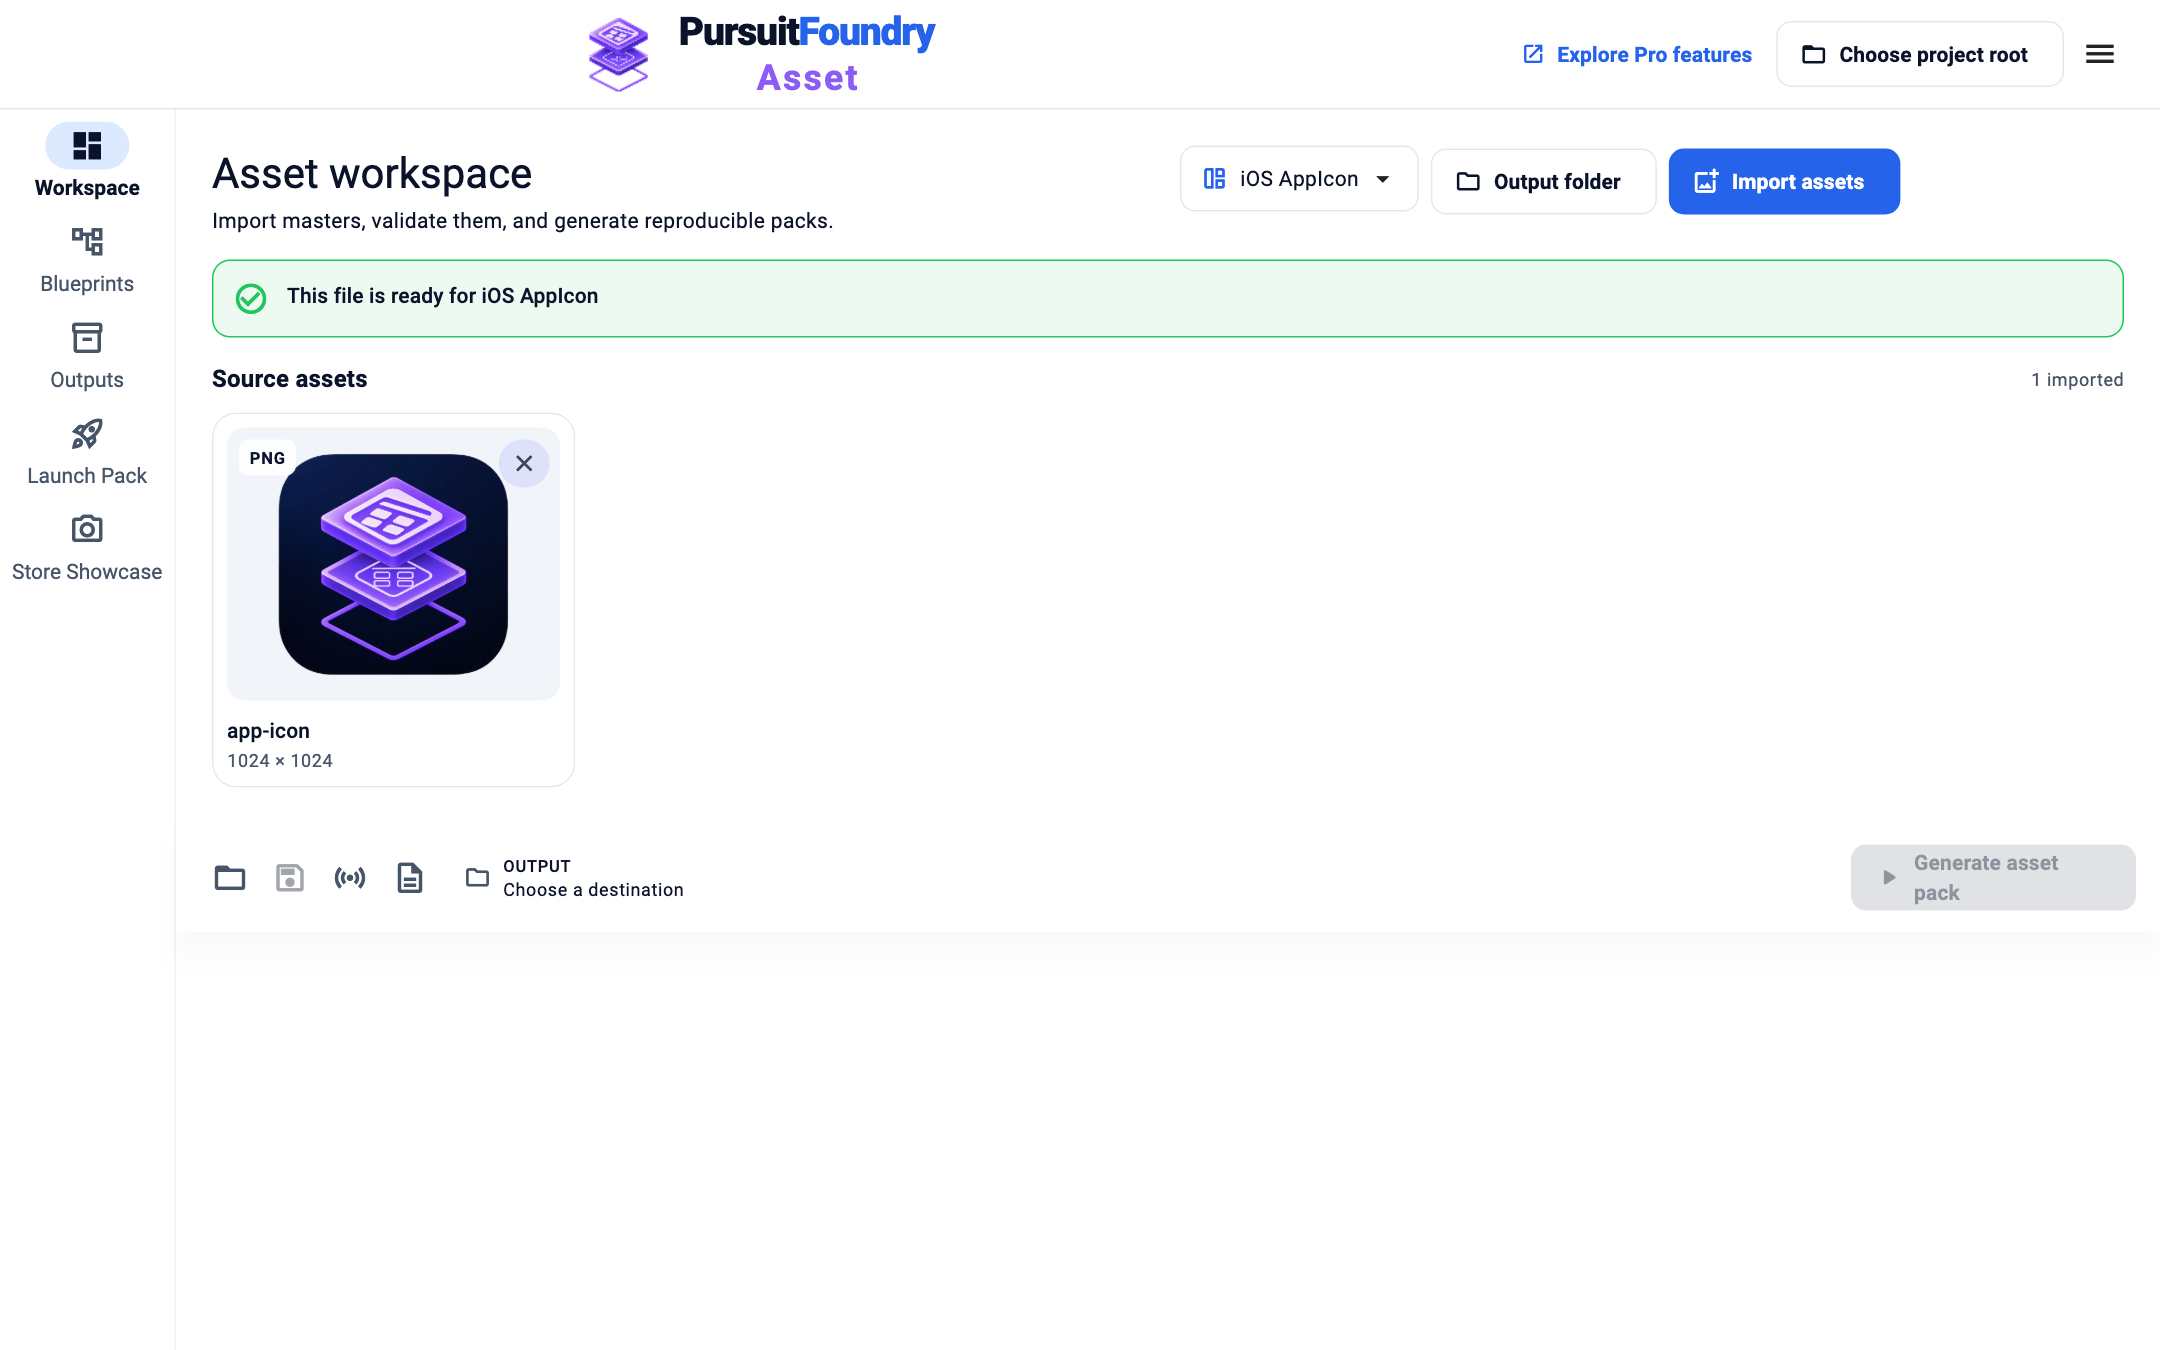
The imported master and a passed validation check. Choose where files go
Select Output folder at the top of the Workspace and choose a folder. The path appears beside OUTPUT in the bottom bar and Generate asset pack becomes available.
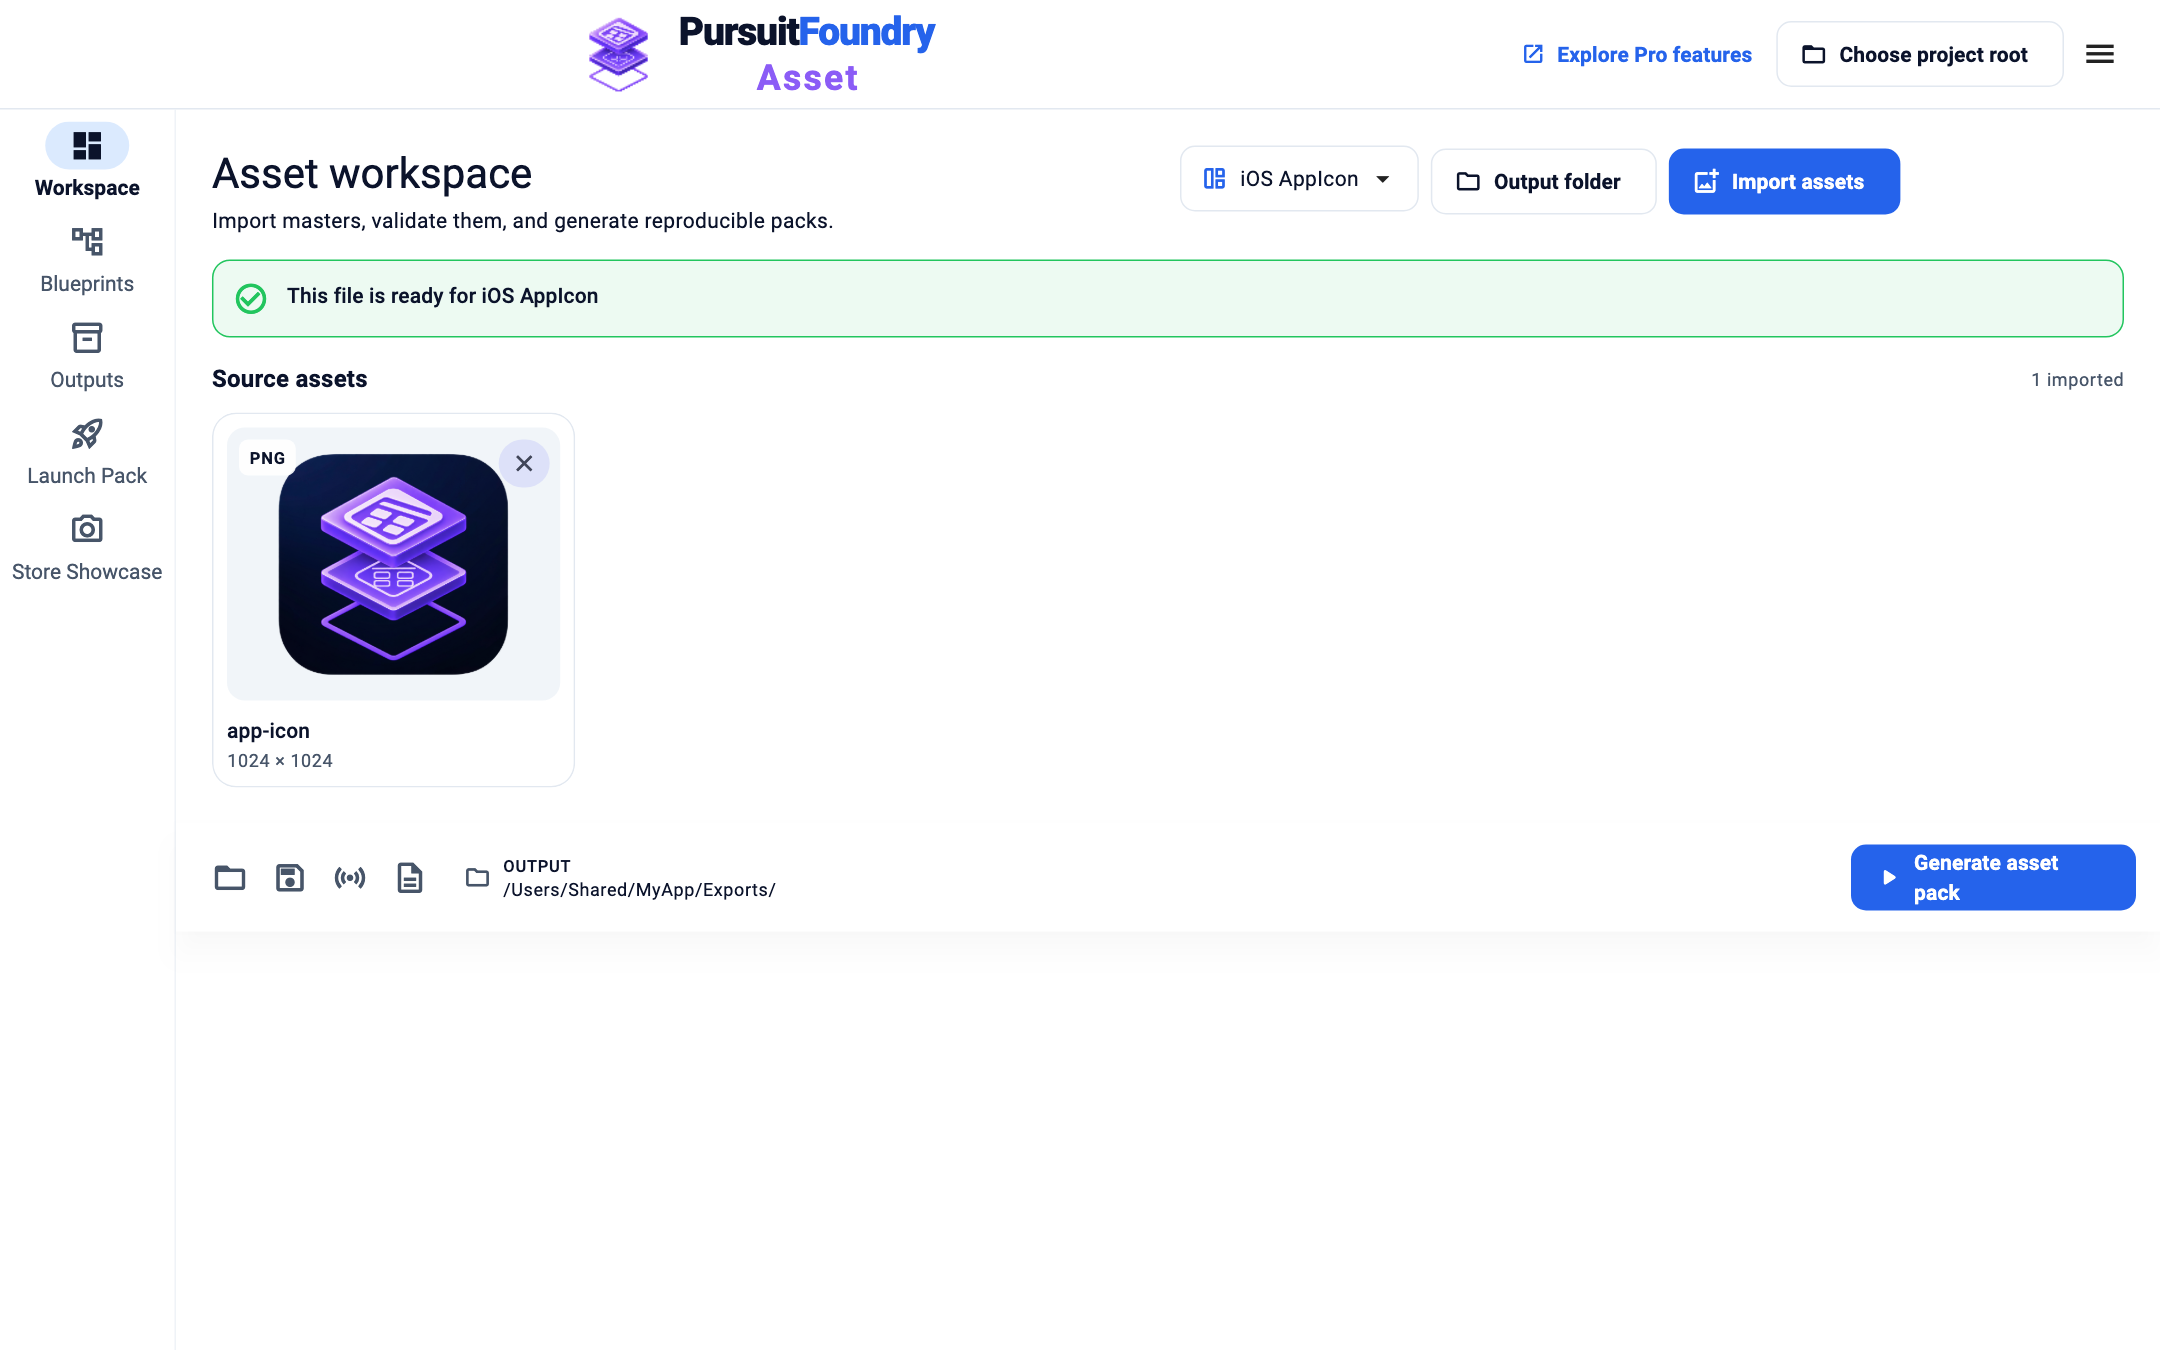
The output folder is set and Generate asset pack is enabled. Generate
Select Generate asset pack, or press ⌘G on macOS or Ctrl+G on Windows. A progress bar shows while Asset works.
Check the results
Select Outputs in the navigation. Recent jobs shows the run and Generated outputs lists every file with its size and dimensions.
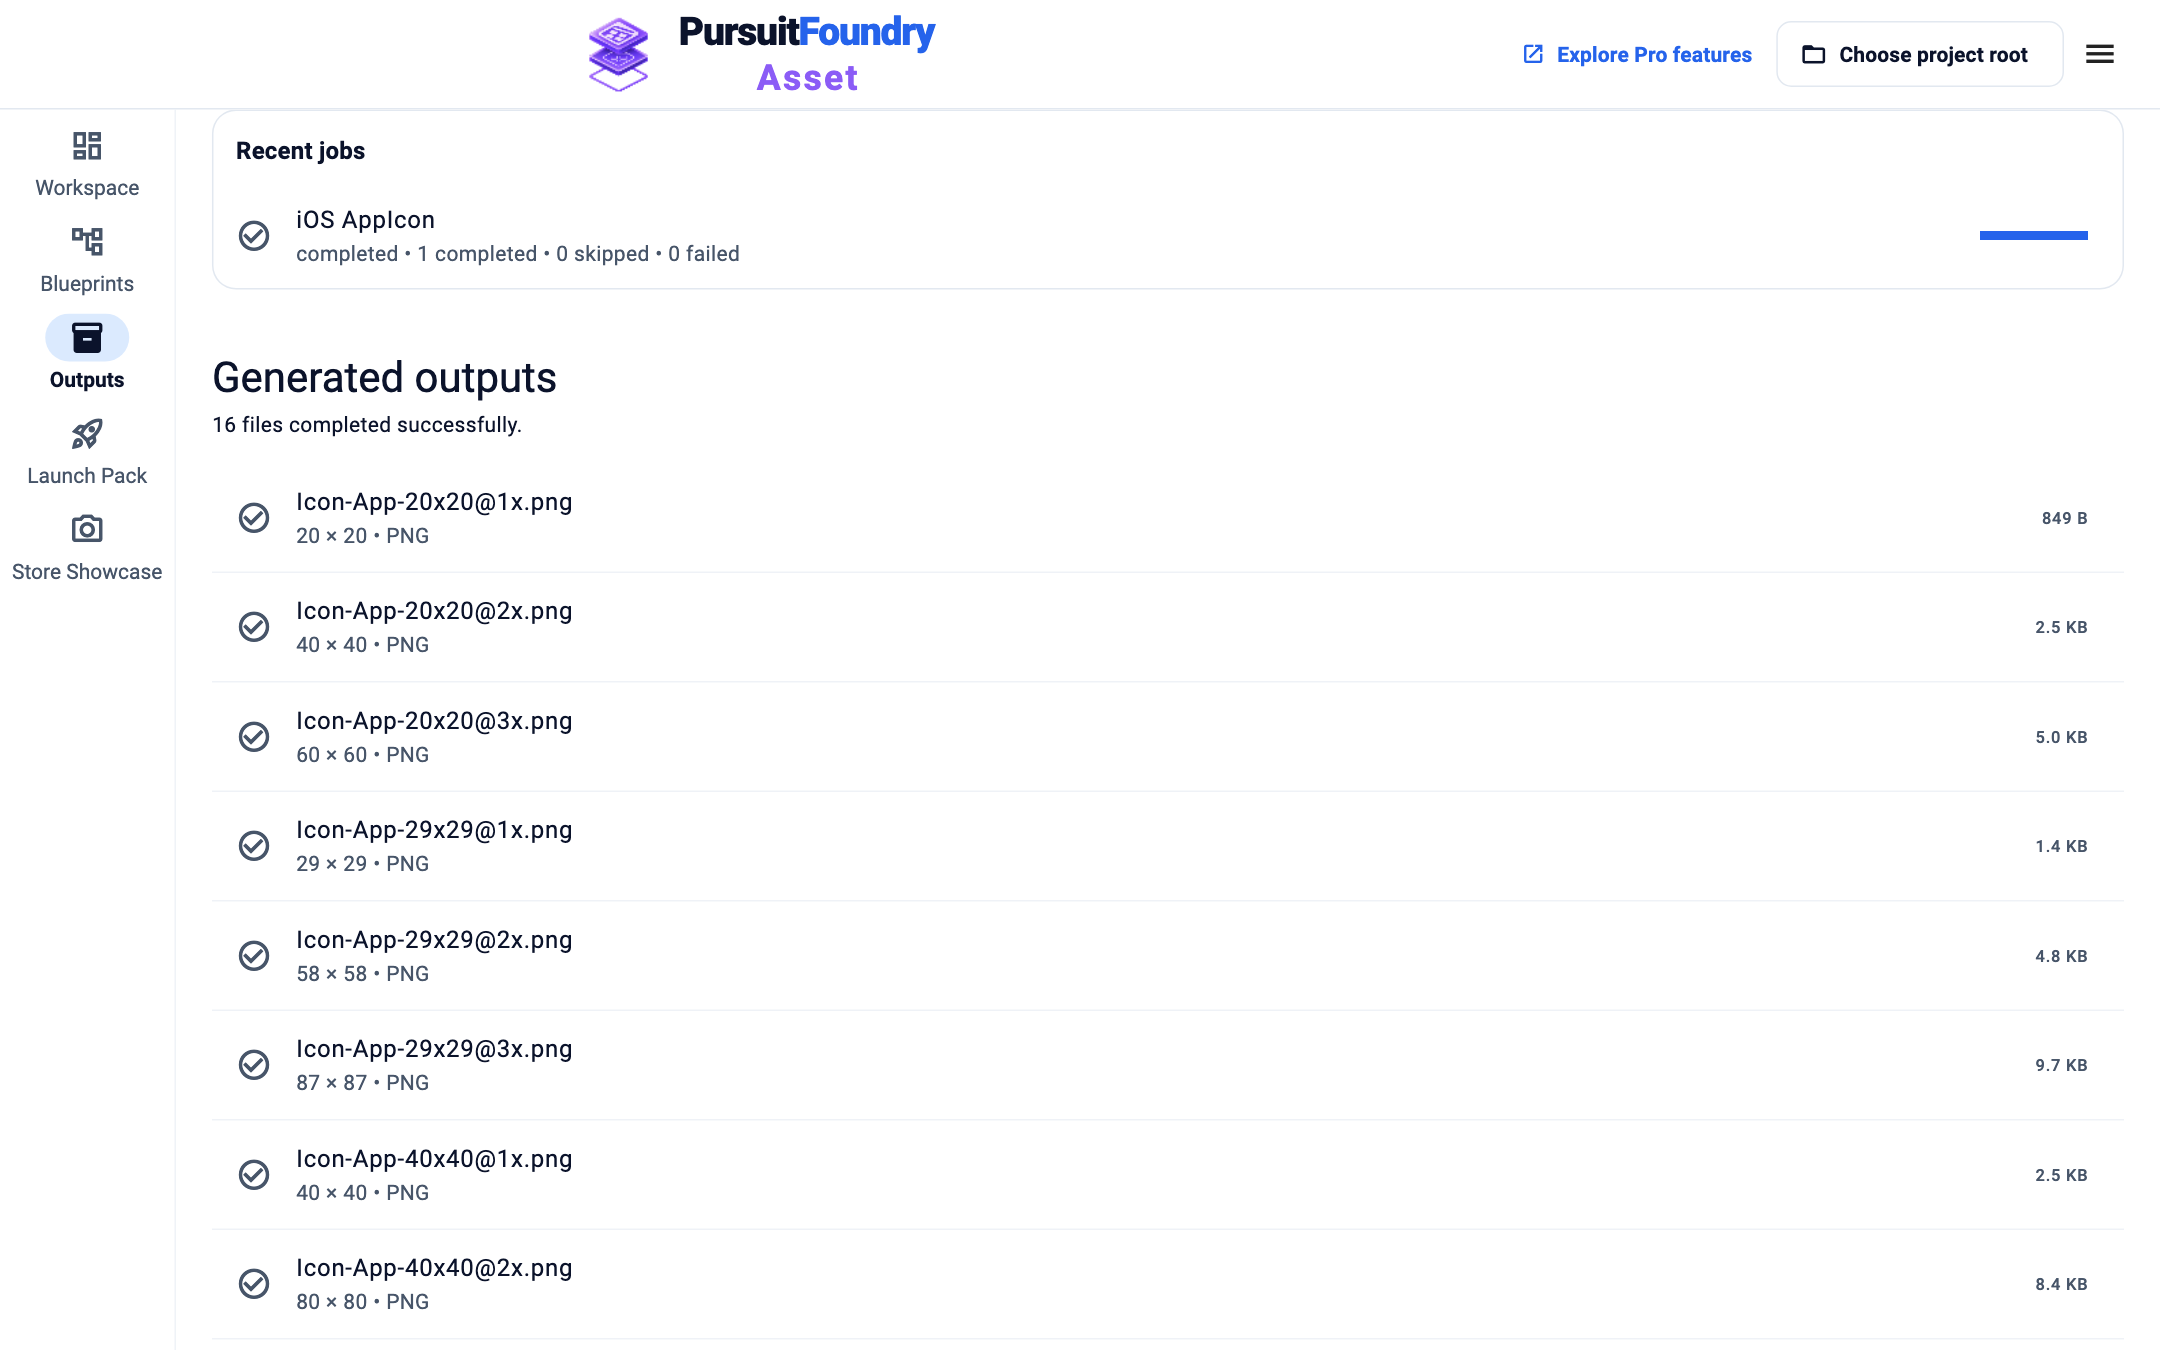
The completed job and the generated icon files.
Results
The output folder now holds the icon PNGs in ios/AppIcon.appiconset/, ready to drop into your Xcode project.
Troubleshooting
- The bar is red and says “This file does not meet the requirements”.
- The line below it says what to change, for example Use a master of at least 1024 × 1024 pixels. See Check validation and the output plan.
- Generate asset pack stays grey.
- Import at least one master that passes validation and choose an output folder.